Bubble Shader in Unreal Engine 5
Solo | Bubble Shader Graph in UE5
2026-01-23 12:00:00 +0000
Overview
As an exercise to demonstrate my breadth of shader knowledge, I decided to create a bubble shader that would cover several common shader features such as:
- Custom Lighting
- Dynamic Vertex-Displacement with realtime normal recalculation
- Refraction & Transparency
- Tri-planar mapping
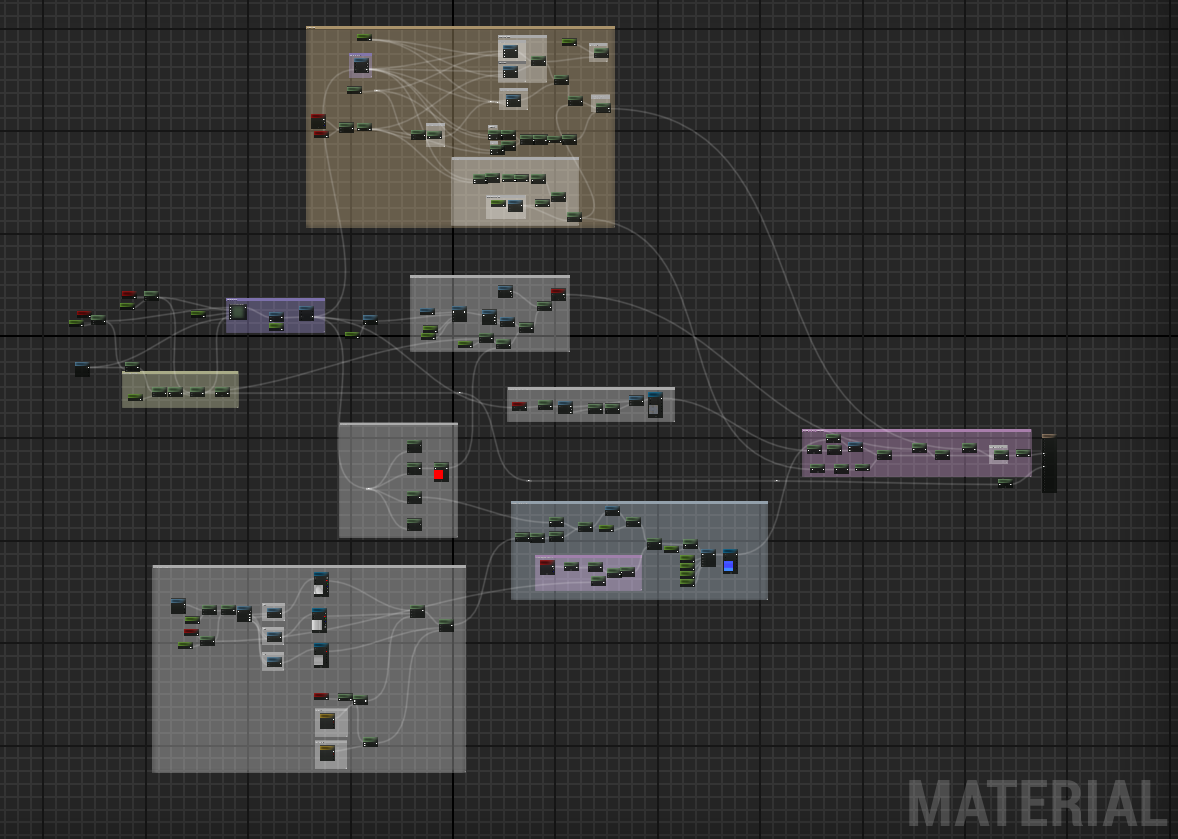
As part of this exercise, I created the shader from a base Unlit shader and built the lighting from scratch. This is in part to demonstrate a lighting knowledge, but it also gives me finer control over the lighting and performance. I would like to highlight that the shader below would not be appropriate in most production scenarios. Generally, a lighting model is defined for the project, and we would give this model the necessary information to render our bubble- this saves us from rendering a different lighting model for each shader. I think it works nicely for a one-off shader.
The Details
Vertex Displacement
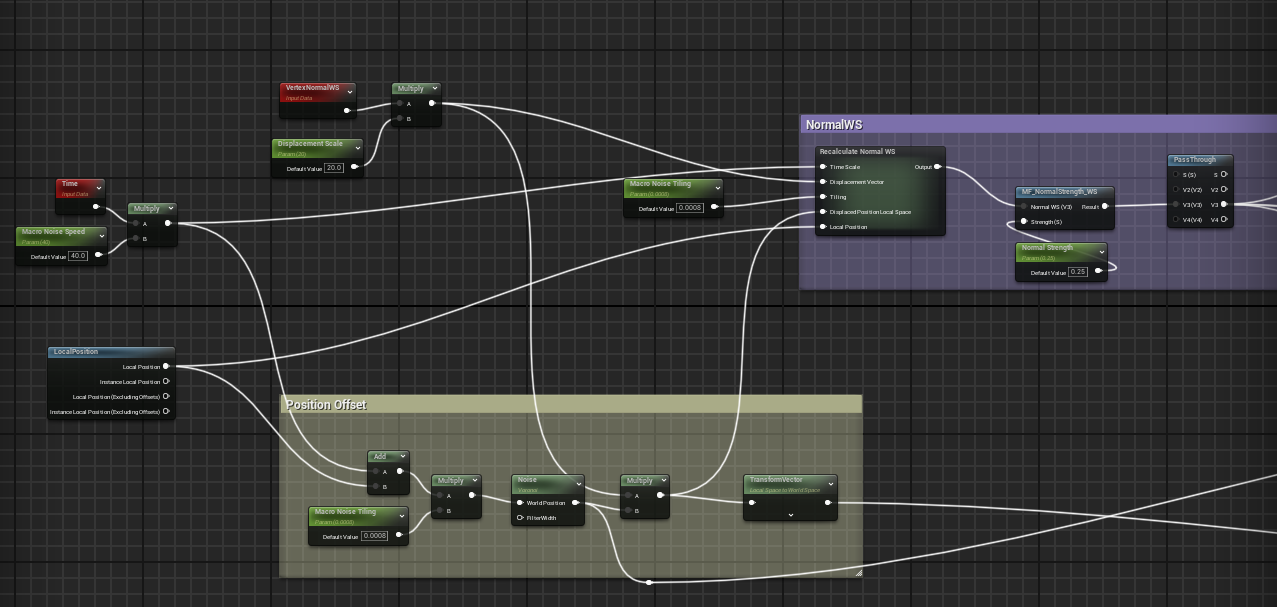
First, I created an animated vertex displacement. This is simple a scrolling voronoi noise that is offset by time. This displacement will be used to add complexity to both the shading and refraction. This method would be very straightforward if it wasn’t for the fact that offsetting vertices leaves us with incorrect normals, thus throwing off all of our later calculations.
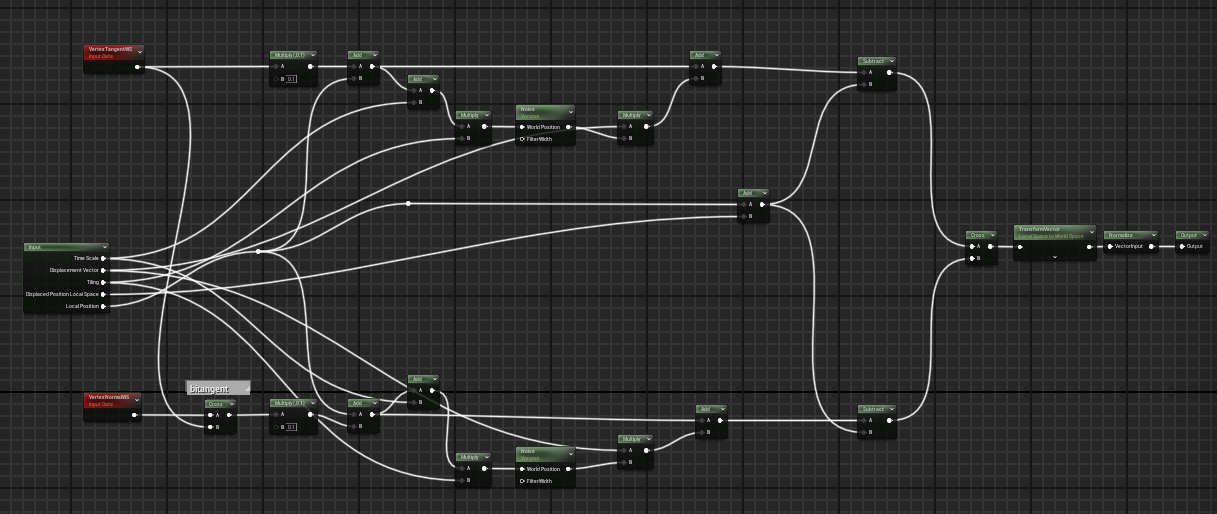 We can regenerate our normals by performing this offset twice more; once slightly offset in the tangent direction and then slightly offset in the bitangent direction. We can take the cross product between these two vectors to generate a new normal.
Refraction
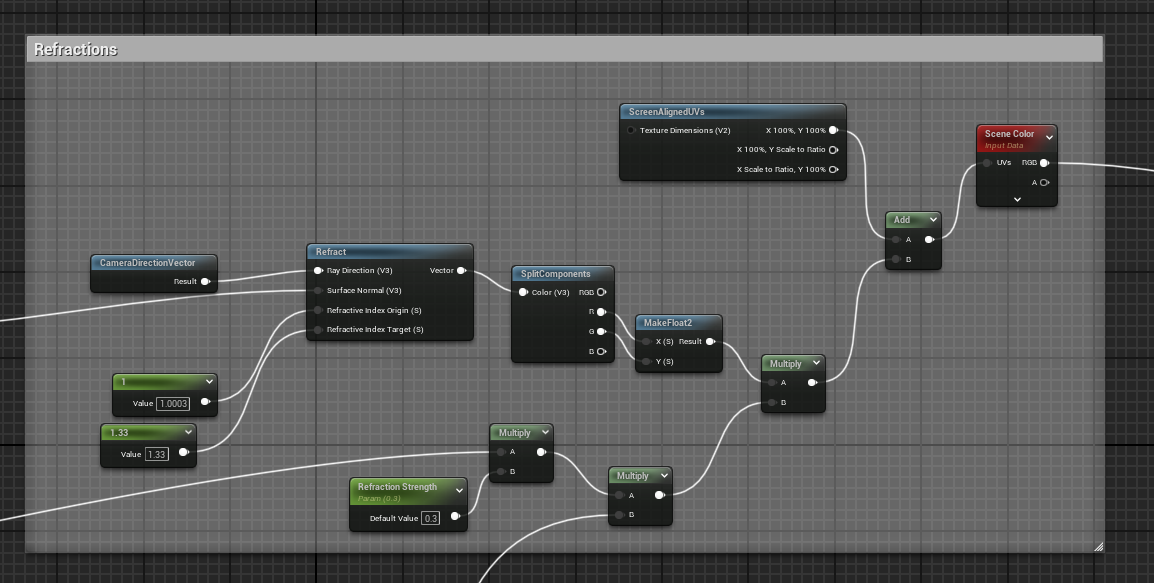
With the normals working, we can now create refraction. When looking at a bubble, there is actually very little refraction due to the bubble’s surface being very thin (in the scale of nanometres). However, I am not necessarily looking to create a realistic bubble and I find that the added refraction gives the bubble an exaggerated, jelly-like feel.
Unreal has a built-in “refraction” parameter for lit translucent materials, but given that I handle the lighting myself, I may as well handle the refraction. However, it is important to flag the shader as “transparent”, so it is run in the pass after the opaque scene colour has been generated.
To create the refraction, I simply feed all the necessary inputs into Unreal’s built-in *refract” node. This node creates UVs that are then used to sample the scene colour. I multiply this value by the vertex displacement to exaggerate the offset’s affect on the refraction. I also multiple the refraction by a slight fresnel. This creates the warped refraction around the edges of the bubble where they are technically thickest.

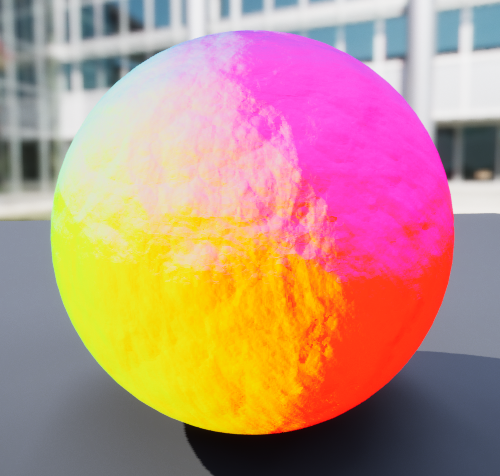
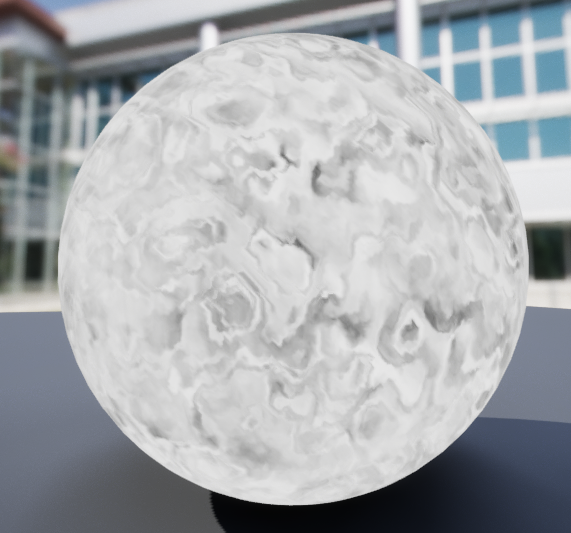
Soapy Thin-film
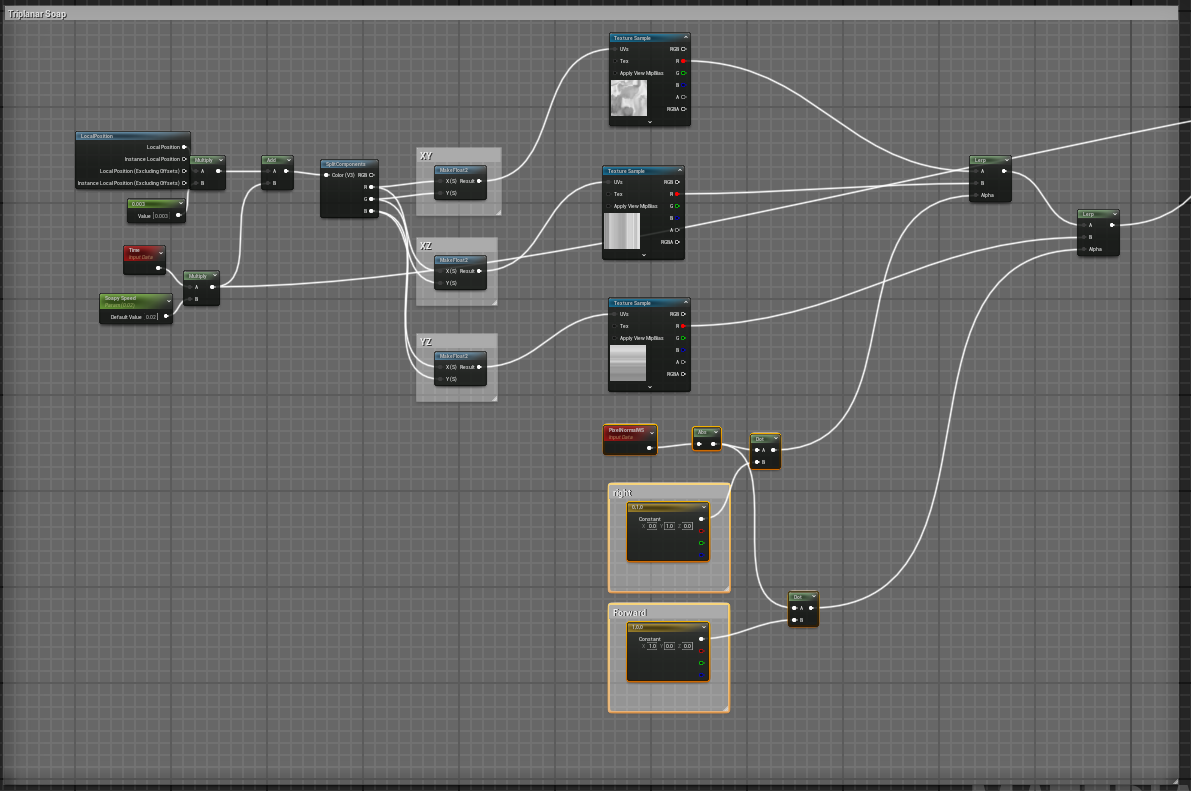 I emulate thin-film interference by tri-planar mapping a simple greyscale texture to the bubble.
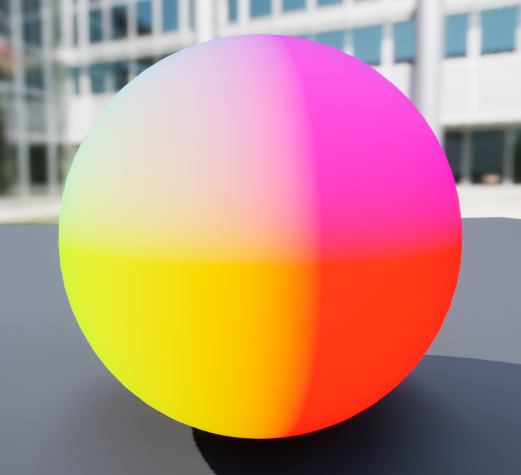
 I then scale this value by a fresnel, and combine it with a view-based noise projection. This noise is mapped to to a simple 1x256 full saturate colour gradiant.
Lighting
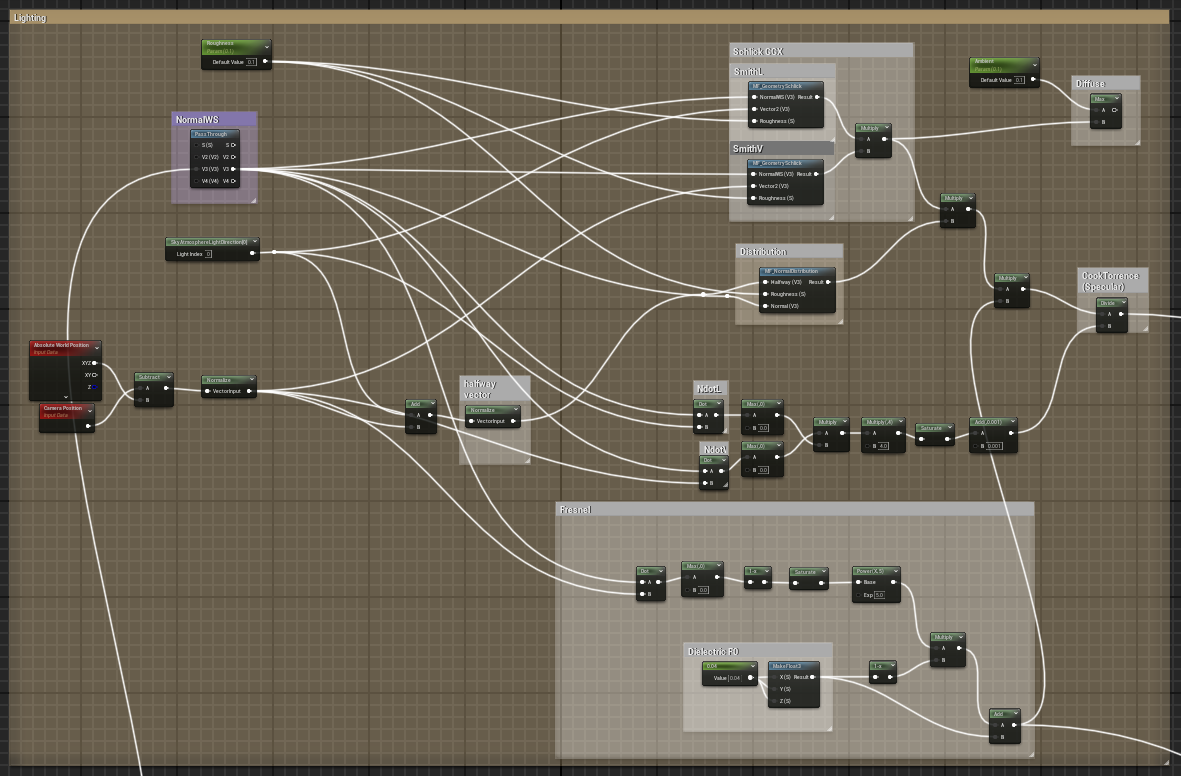 Given that light hitting the bubble is mostly refracted, and the reflected light is either reflected as specular or as a clear image. This means that there is no need to concern ourselves with diffuse lighting. For the purposes of this shader, I have implemented the Cook-Torrance lighting model (although I have skipped a few steps that aren’t necessary for this use-case such as multiple lights and metallness). The Cook-Torrance model uses a Fresnel approximation that allows for the specular to refract around a surface slightly as shown below.
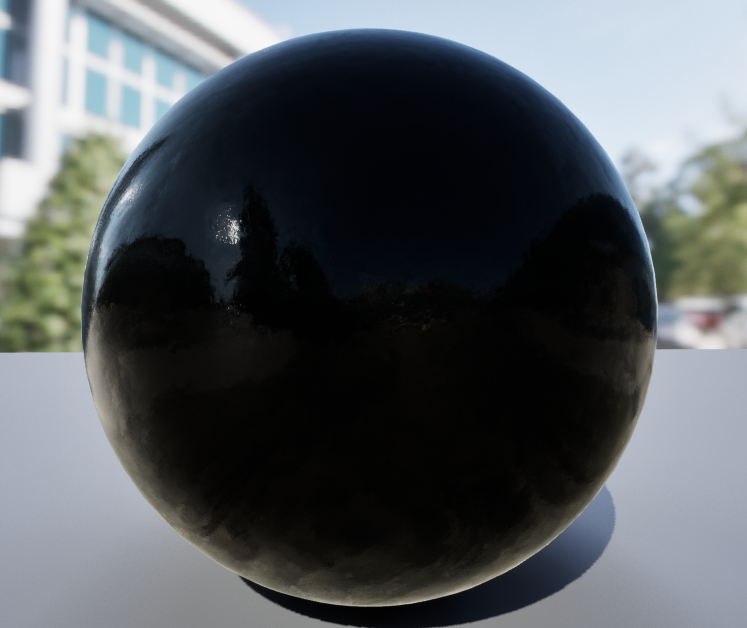
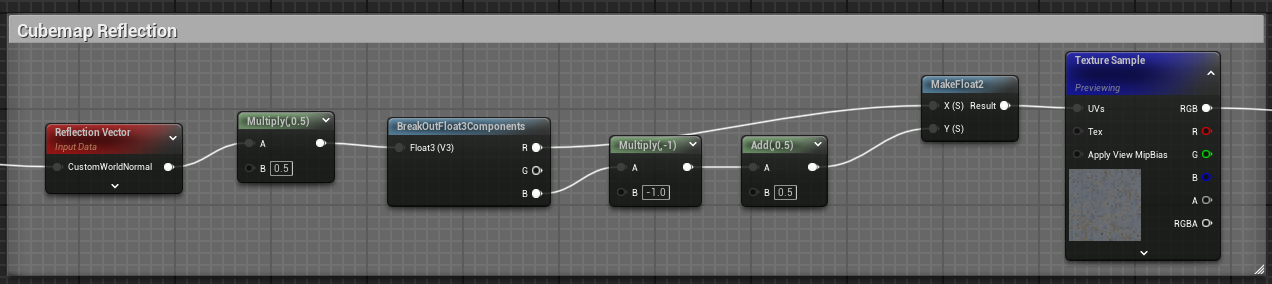 The fresnel approximation, also gives us a great starting point for creating reflections. I first took a generic cubemap, and sampled it using the reflection vector as a UV. I multiplied this value with the fresnel from earlier to create the following result.
Bring it all together
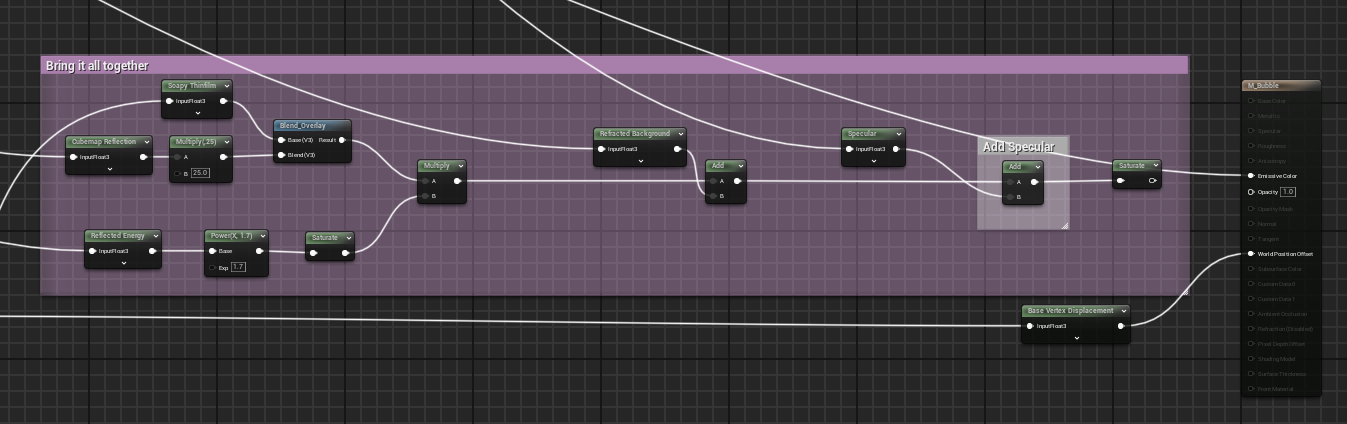 First we combine the soapy thin-film with the reflections. This is multiplied by the Fresnel approximation. Next I add the refracted colour followed by the specular. And that’s it!